Showing posts with label remodeling. Show all posts

Sunday, January 25, 2015

The Project House "Afters"...The Living Room and Dining Room

The living room and dining room were two of my favorite rooms in the house.  They had original wood floors and gorgeous trim.  They just needed a TON of cosmetic changes.  Besides the dirt and dust that you can see in the picture, the rooms smelled like thousands of cats lived in them.


And the afters...

The Living Room


The Dining Room


The changes to the living room of the Project House are:

  • The original hardwood floors were refinished beautifully and stained Dark Walnut. Todd of Eagle Hardwoods did an AMAZING job.
  • Our painter, Ryan Atnip of Alpha Painting, painted all of the trim crisp white and all of the walls (including the ceilings) Sherwin William's "Agreeable Gray".  If you are local, Ryan does a fantastic job!  This paint color is my new favorite greige.
  • The ancient window air conditioning units were removed and new central air was added to the main floor.
  • The DIRTY, dusty ceiling fan in the living room was replaced with (another) ReStore find that I painted to match the antique brass fixture in the dining room.  
  • Outlets that weren't up to code were replaced by our electrician, Mike Harlen. He and his team are wonderful, work fast, and were super sweet to my kids...a big plus in the momma's book!

Tomorrow's post...the kitchen.


Saturday, January 24, 2015

The Project House "Afters"...Exterior and Back Porch

Do you watch "Fixer Upper" on HGTV?  One of my favorite things about the show, besides the awesome Chip and JoJo, is the fact that they ALWAYS remind the family of what the house looked like before the renovation...then show them the "after".  I'm going to show you the "before" along with the "afters"...it just makes it THAT much better!

Here's a little reminder at what the front of the Project House looked like before...


Here is the after...


The changes to the front elevation of the house are:
  • We removed the metal railings and had our contractor add a beautiful new wood railing around the whole porch, which was then painted white.
  • The lone maroon shutter was replaced with crisp black shutters, found for a steal at Habitat for Humanity Restore.
  • I painted the previously-maroon door black and cut out vinyl address numbers (to take the place of the awful plaque hanging on the column).
  • The rickety mailbox was removed and a sweet black, metal mailbox was added next to the door.  I just think it adds to the cottagey charm!
  • Our electrician moved the light source from the center of the porch to above the door.  He wired in a vintage lantern that I found - another ReStore score!
  • Lastly, the overgrown ivy was removed and new black mulch was added.
The back porch was one of my FAVORITE rooms to redo...probably because it changed the most.  Here's what it started out looking like:


This room was SCARY. It was so dirty and neglected, but I knew it had potential.  Here are the "after" shots.


The changes to the back porch of the house are:
  • We removed the shower and added a "step up" laundry room, complete with a half bath...which includes a utility tub!  I'd love to have a sink in my laundry room!
  • The whole porch was painted WHITE!  I love how the paneling looks painted crisp, clean white.
  • The yucky back door was replaced with a sturdy door with some panel detail...another awesome ReStore find.
  • The concrete was painted with Valspar's Porch and Floor Paint (in City Storm).
Can you believe the difference in that room?  Amazing.  Tomorrow's post will be all about the living room and dining room!

The Project House "afters"....

After 3 months of renovation, the Project House is on the market!  It turned out just as beautiful as I imagined.  Here are a few of the "after" pictures, taken by my excellent photographer friend Emily (of Moments Captured by Emily).

I am posting a few photos today and have posts scheduled all week of each room with details!  Enjoy!  

If you are looking for a sweet, Craftsman-style house in southwest Missouri, this one would be perfect for you!

The front elevation of the house


Stairs


Master Bedroom


Master Bathroom


Living Room


Kitchen


Dining Room


Newly-added Laundry Room and Half-Bathroom


"Bonus" room at the top of the stairs


A view of the stairs from the top


Entry - view from the stairs


More pics this week!!

Wednesday, January 14, 2015

New paint and a peek at the refinished floors...

The original hardwood floors were refinished and stained in dark walnut.  They turned out beautifully! If you are local to the Southwest Missouri area, we used Todd from Eagle Hardwoods.  We would definitely recommend him!


I wanted to use a neutral gray paint throughout the whole house with bright, white trim.  After scouring through lots and lots of paint swatches, I settled on Sherwin Williams' Agreeable Gray.  It's a gorgeous "greige" that will probably make an appearance in a room in our home soon.


The kitchen and bathrooms in the house had linoleum in them...we replaced that with a neutral beige tile.  It's amazing how different those spaces look now!  I'll start posting "after" photos tomorrow!

Friday, December 5, 2014

The Project House...Upstairs.

At the top of the stairs you'll find a great second living area.  I can picture furnishing this room with some comfy furniture and turning it in to a cozy spot for hanging out with family.


The wide-plank wood floors are painted a dark red right now, which I actually like.  We will probably carpet the upstairs to warm it up a bit.

I wish I had better before pictures of the rooms and bathroom, but I was just trying to snap them as quickly as I could and get. out. of. the. smelly. house.


The bedrooms are on the front and back side of the house and are identical to each other.  Both have more of those gorgeous windows which let in the best natural light.  The ceilings are gabled in both bedrooms, which I love!  There are closets in each gable that are a great size.  We are actually painting and carpeting the closet so they can be used as good storage or a great "hiding spot" for kids.

There is so much that you can do to accentuate the gabled ceiling in old houses.  I love these looks:


The upstairs bathroom is a great size for a family to use.  More of those great, old windows and beautiful trim.  


 I love, love, love cottage bathrooms and would love to totally overhaul this bathroom to reflect the Craftsman cottage nature of the house...if only we were moving into The Project House!  This bathroom will get a fresh coat of paint and a new tile floor. 


Those are all of the before pictures!  There have been so many changes in The Project House over the last month...I can't wait to post pictures.

Thursday, December 4, 2014

The Project House...The Entry, Stairs, and Master Bedroom.

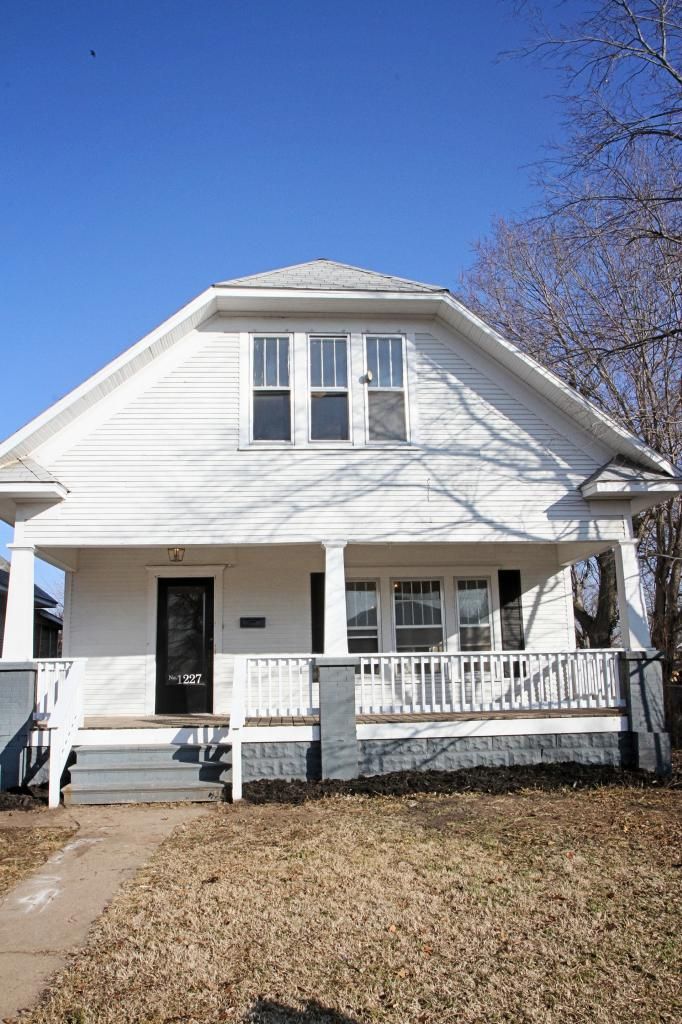
You'll have to forgive these meh pictures of the house that were taken with my iPhone.  I haven't dared bring my camera to the house in fear that it would actually touch something in the house.   I snapped all of these pictures FAST so I could get out of the dirty, smelly house.  Ya'll, it's not dirty and smell anymore.  I can't wait to show you some during pictures next week!

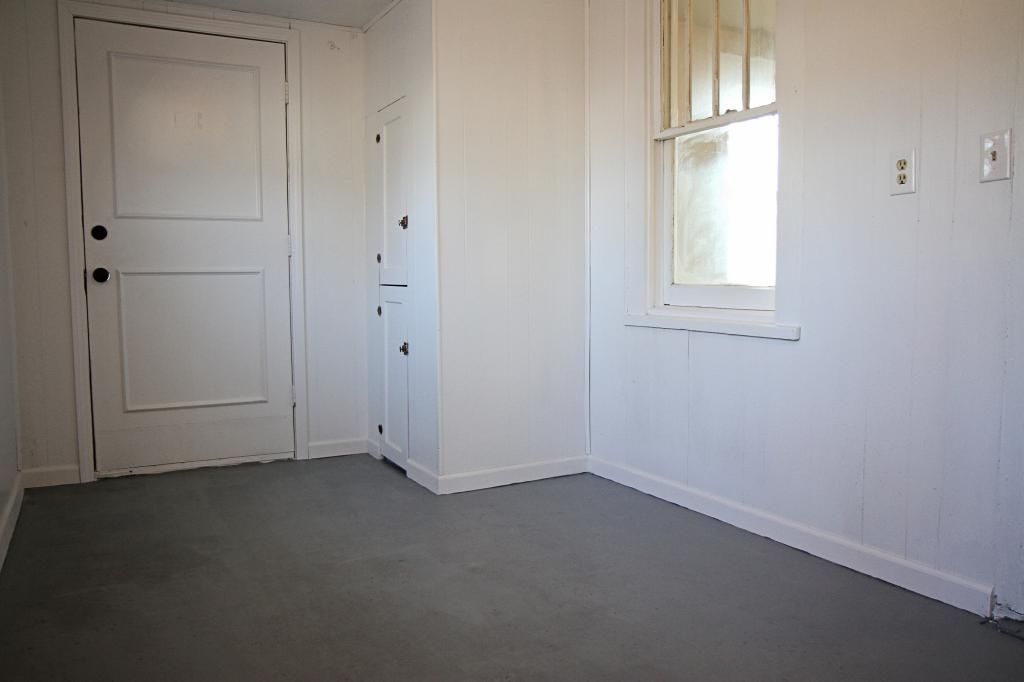
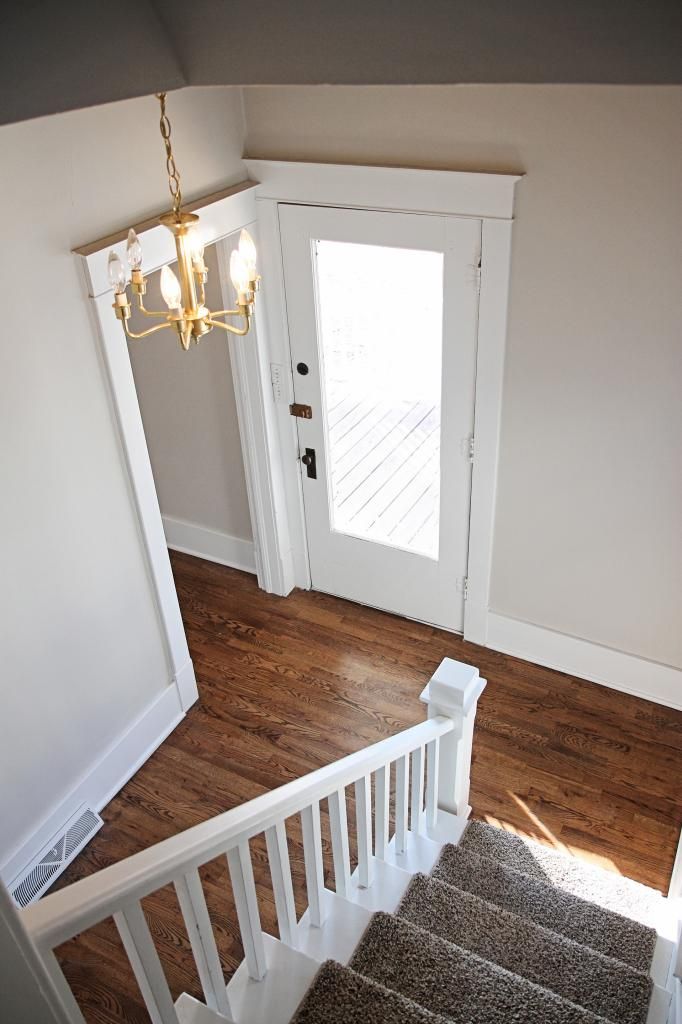
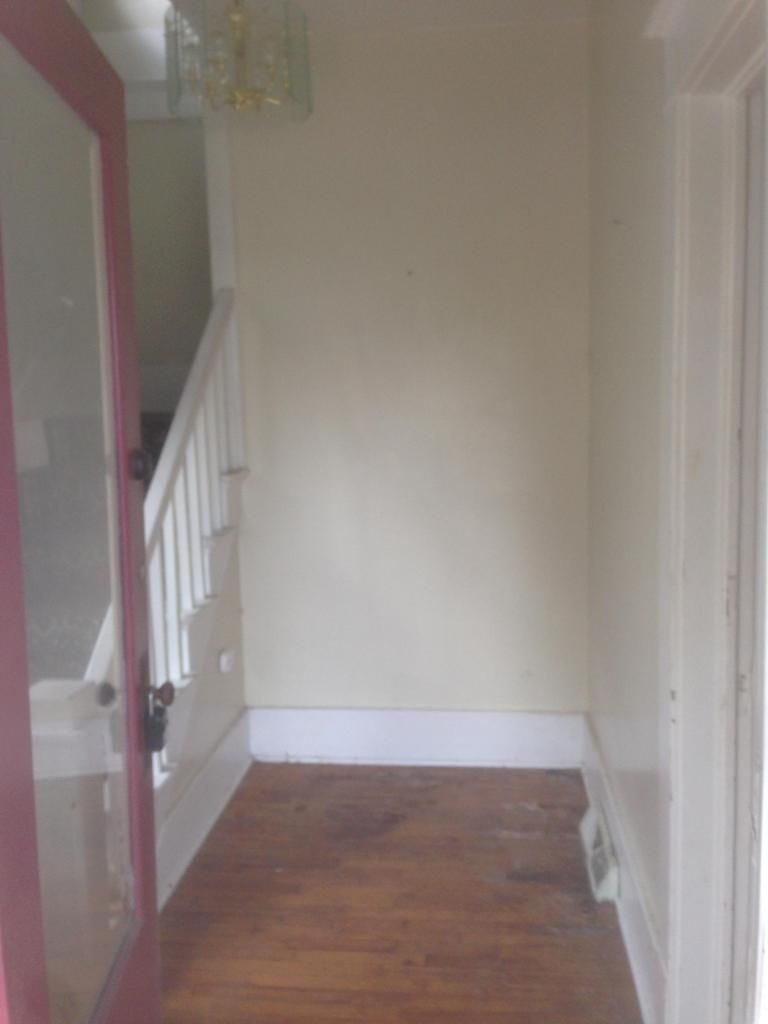
You walk through the original door and end up in a little entry way.


You can see the terrible condition of the floors but I love this little entry area.  I can picture a coat rack with a little table as a drop zone, a nice hutch or display piece, or a sweet chair and table like this entry from the cottage that this blogger is remodeling.


The entry has already come a LONG way...but you'll have to wait until next week to see that.

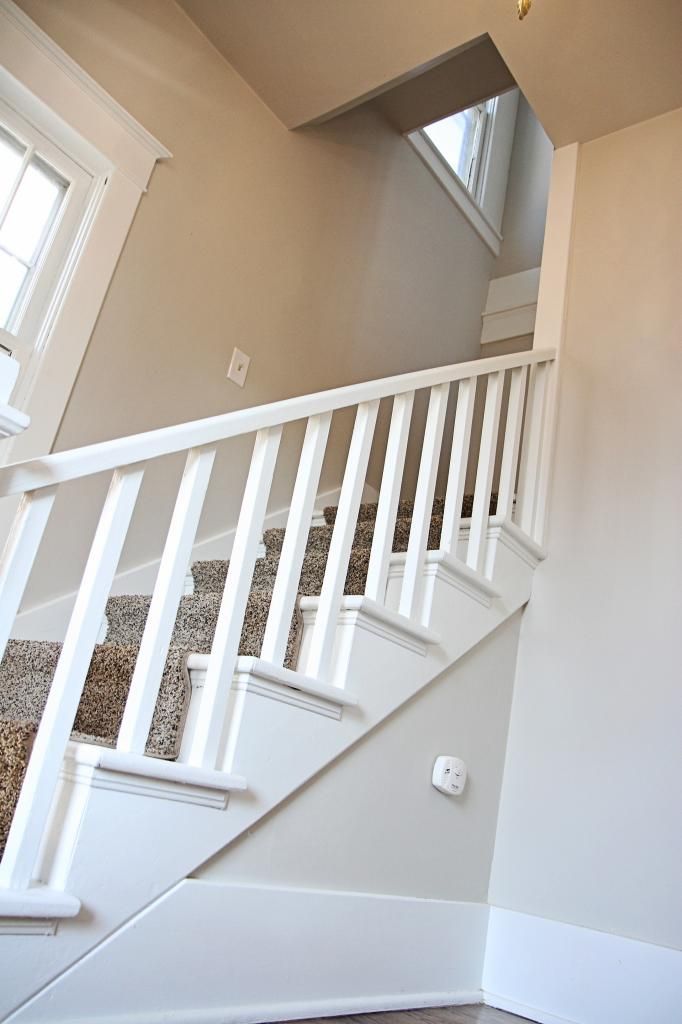
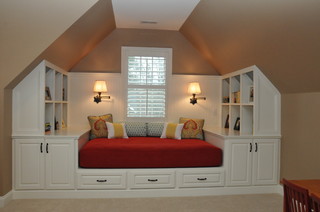
To the left of the entry are the stairs that lead to 2 bedrooms, a sweet den or bonus room, and a bathroom.


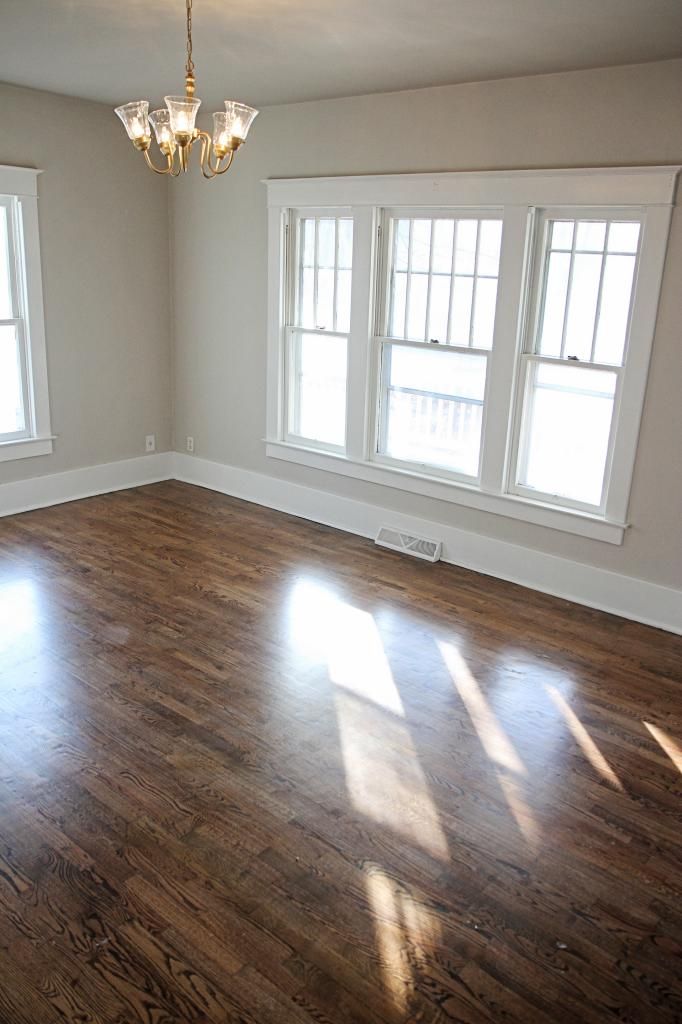
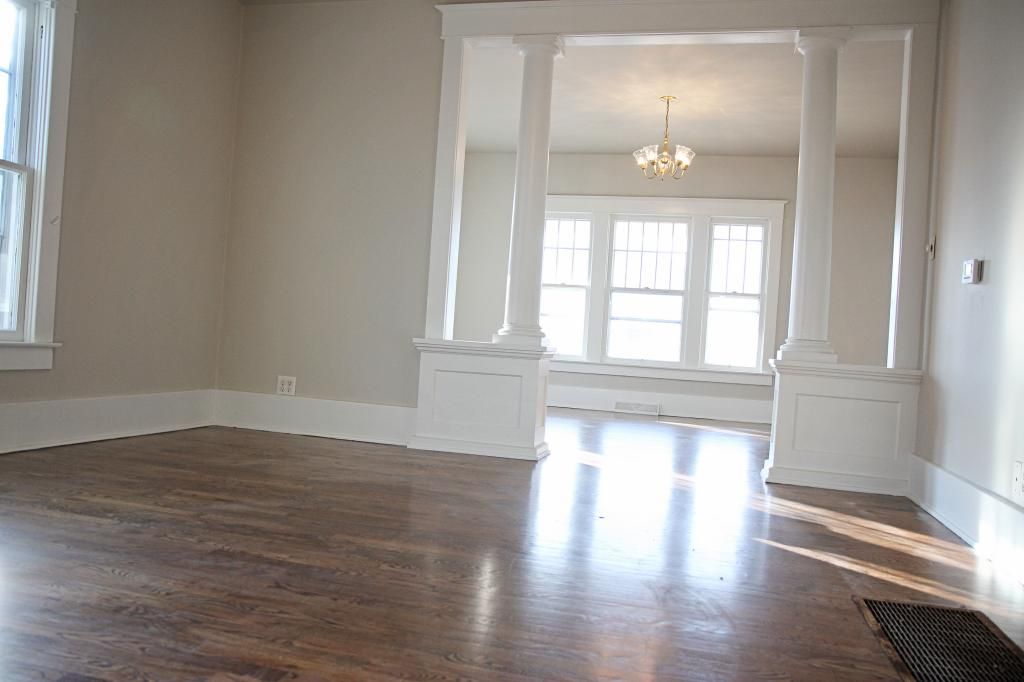
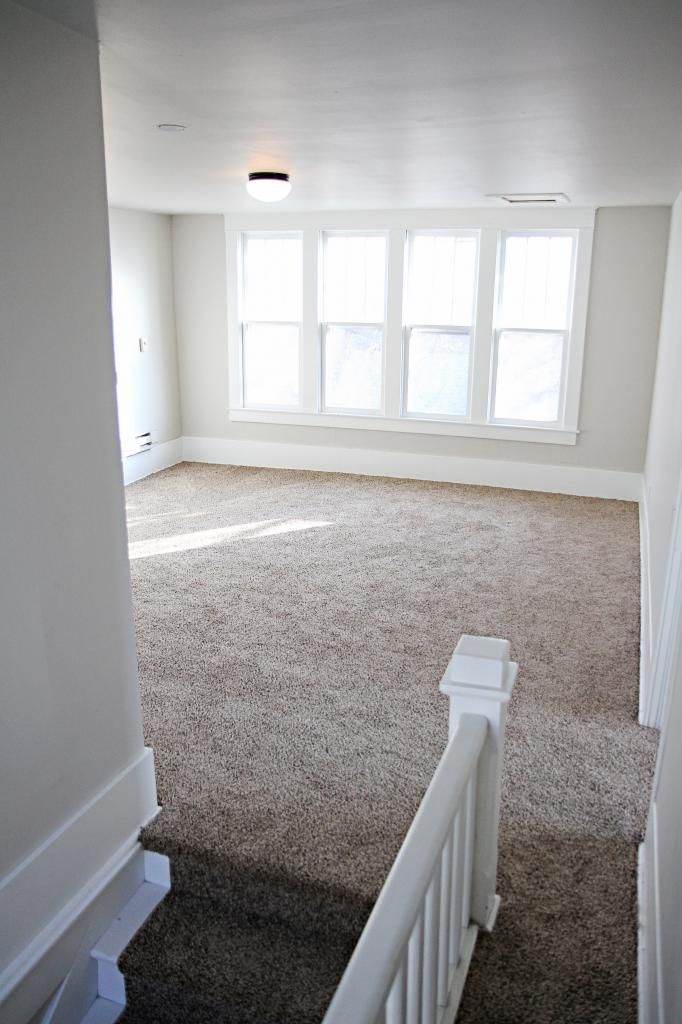
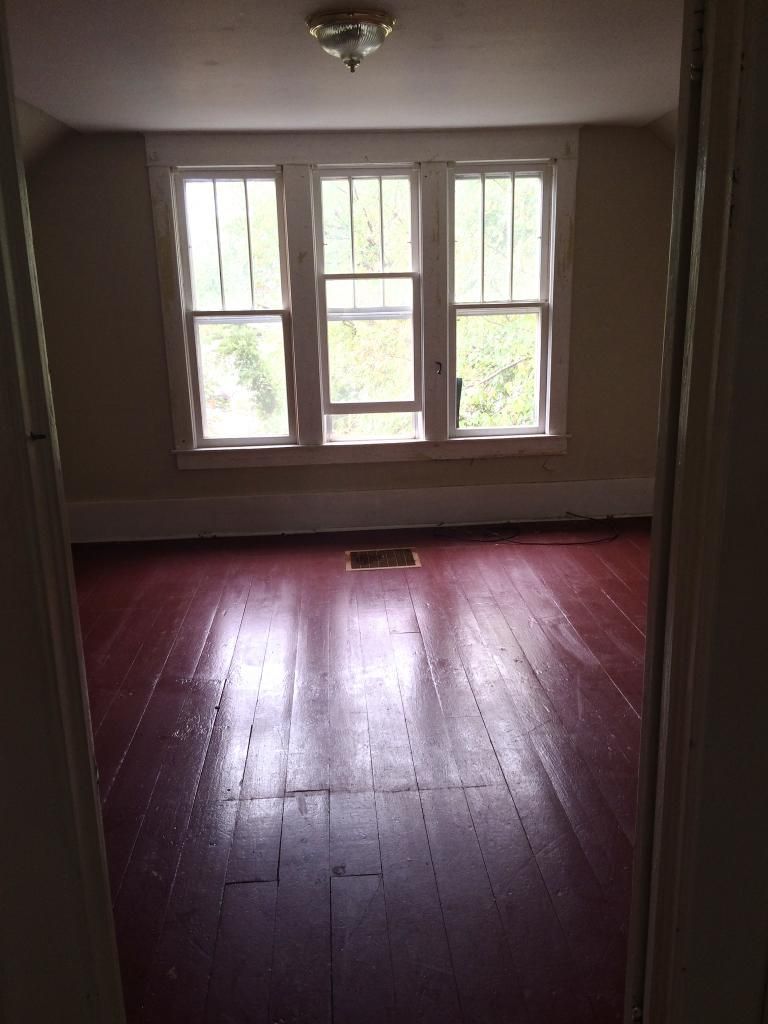
The Project House gets so much natural light from all of these original windows that are placed everywhere in the house.  

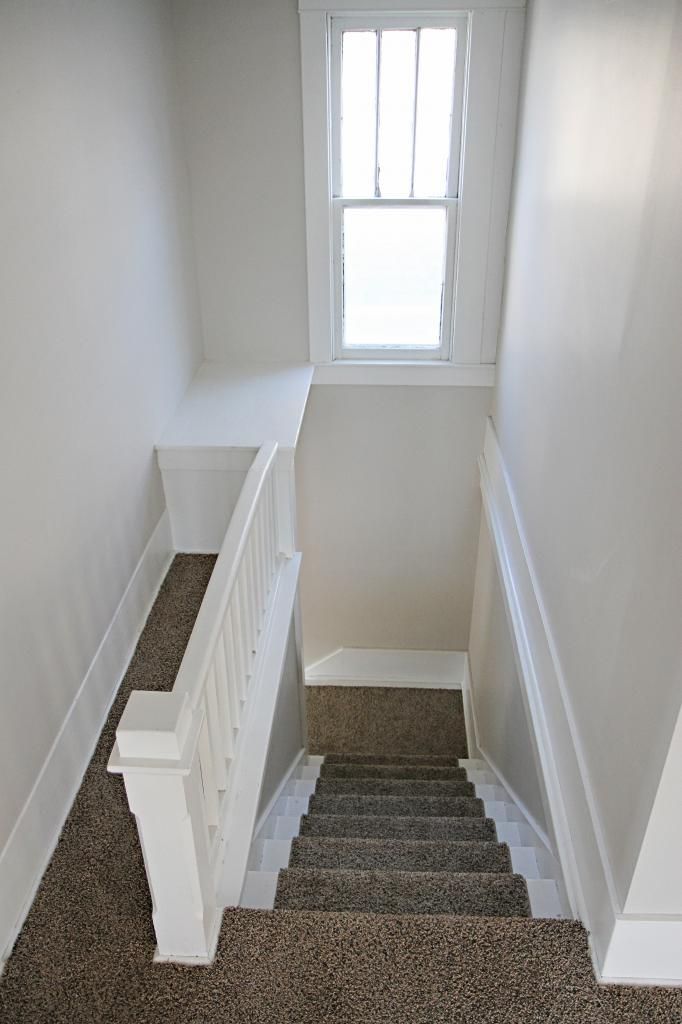
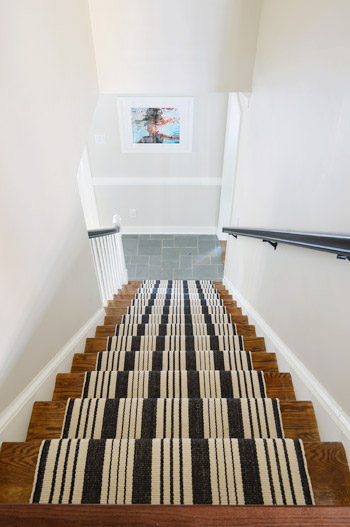
It's hard to get a good picture of the stairs because of the size of the landing at the bottom.  And quite honestly, you don't want to see a good "before" picture of the stairs.  They were gross, gross, beyond gross.  Here is a picture taken from the top of the steps with another awesome window letting in amazing natural light.  I love the railing and all of the details that went into constructing this house almost 100 years ago.


The stairs were originally dark-stained wood, which we found after we pulled up the dirty, DIRTY, dusty, DUSTY carpet runner.  We were originally going to have the stairs painted white, like the trim, and leave them carpet less.  However, the stair treads are in terrible shape because of the amount of glue that was used to adhere the runner.  We decided to have the stairs painted and will be adding another runner, which I am on the lookout for now!

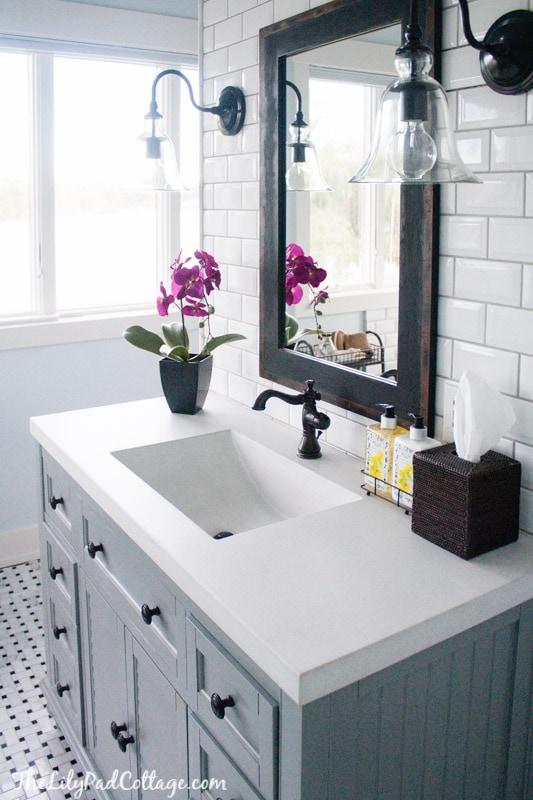
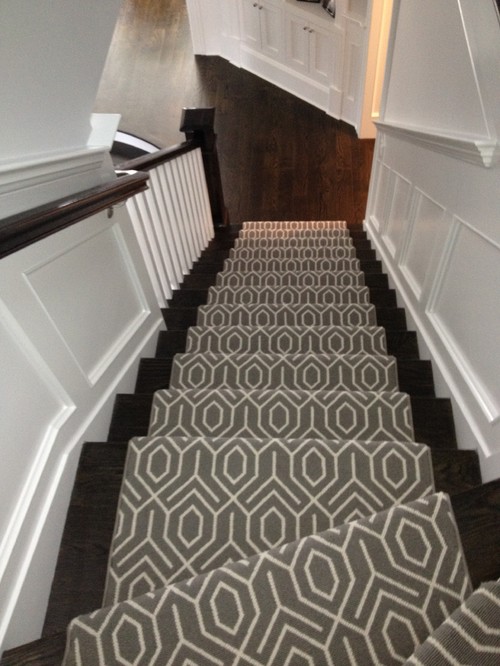
This is one of those (many) times that if we were moving into The Project House, I would do something totally different.  I'd love to have a runner with a geometric pattern like these:


Or an animal print runner...I love the unexpected, but neutral, look of cheetah.

(Source - I can't find an original link for this photo.)

But, since we're not moving into The Project House I will go with something more neutral and classic.  

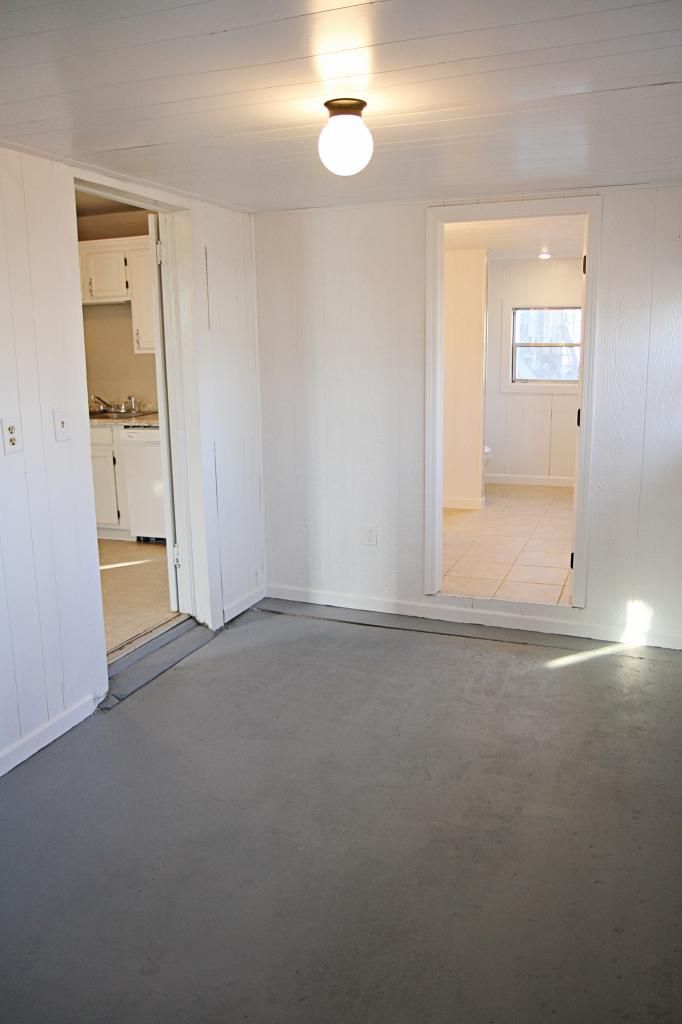
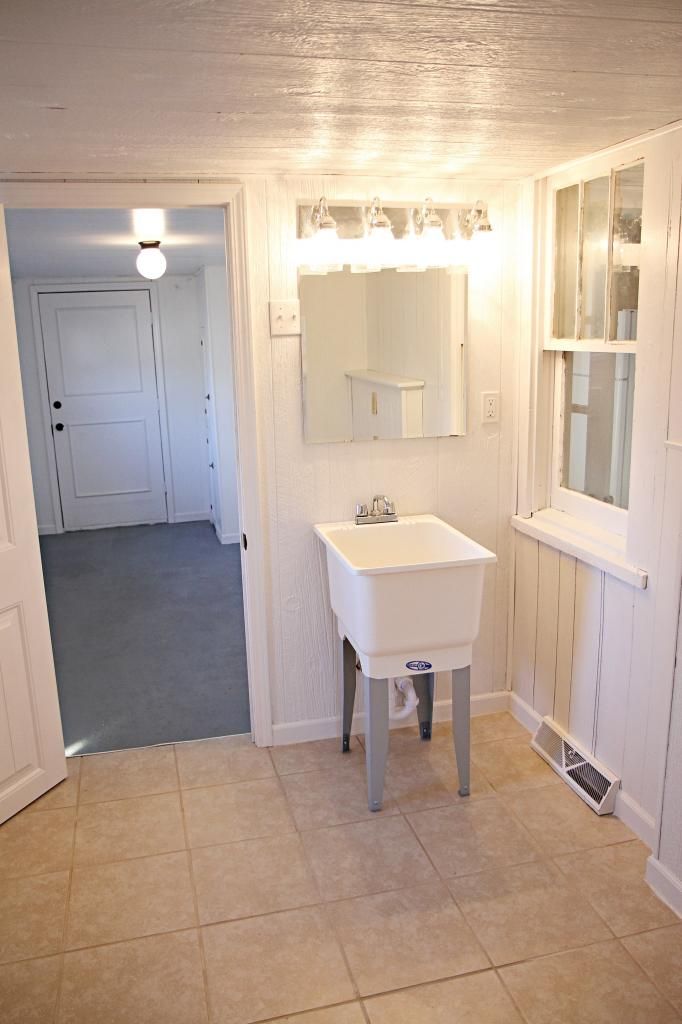
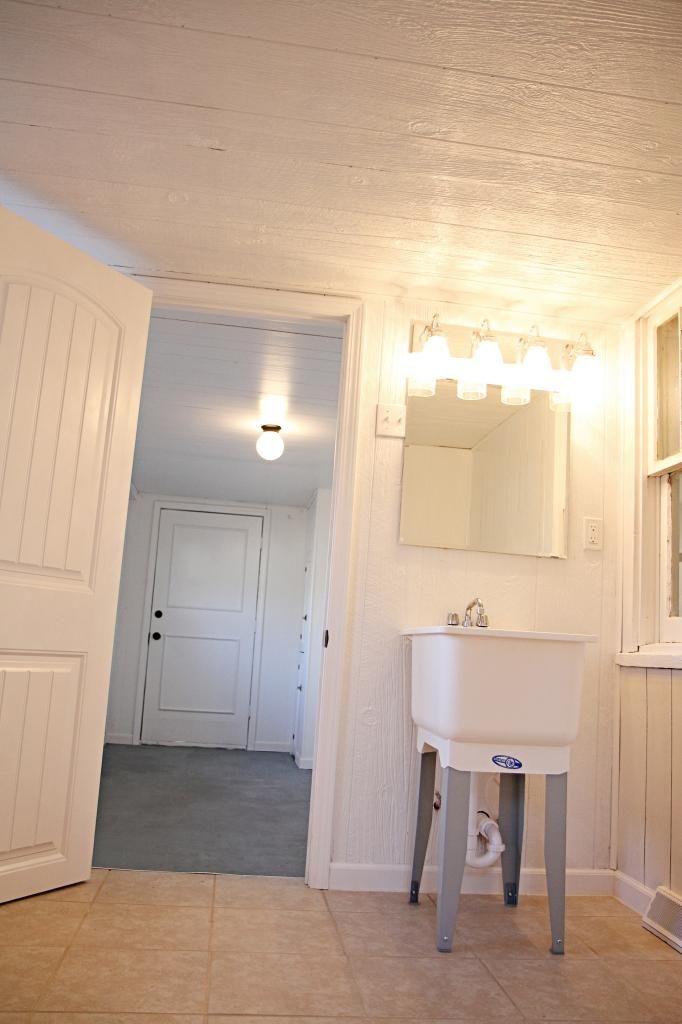
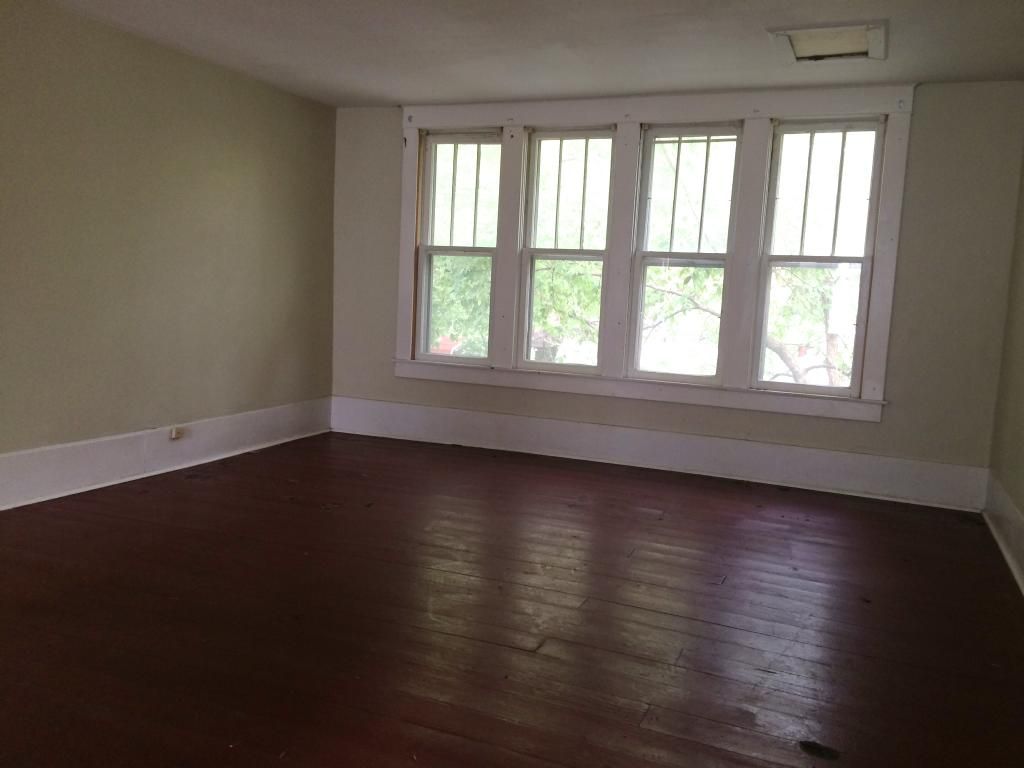
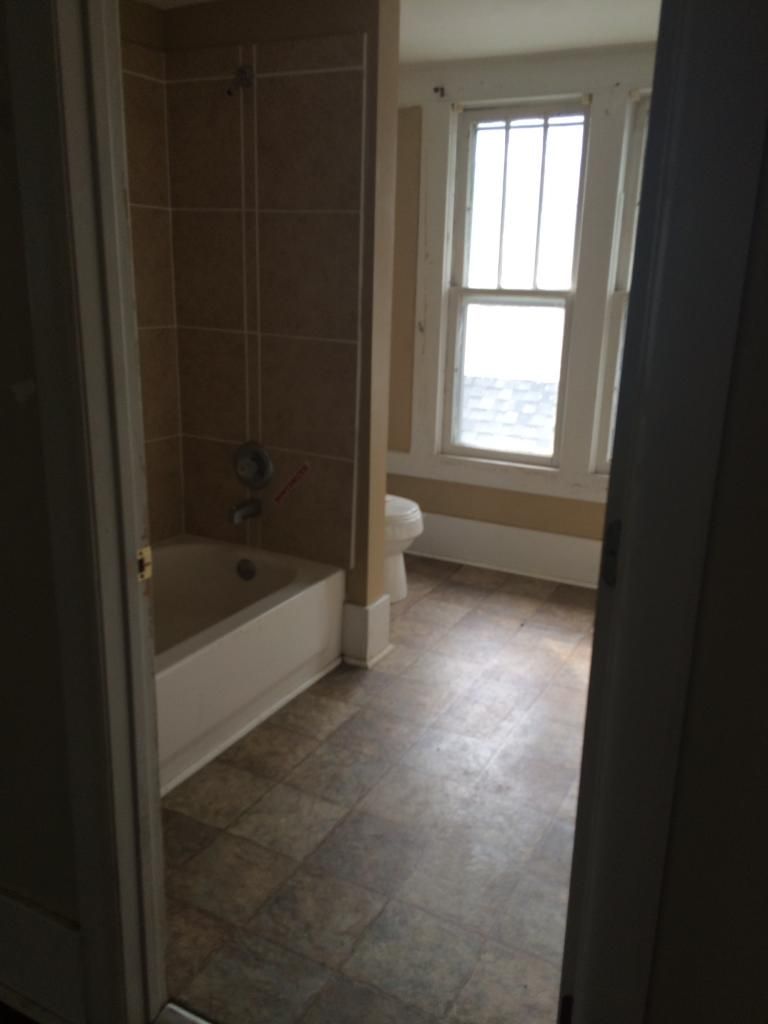
The last room on the first floor is the master bedroom, which is just through the living room and is a good size for an old Craftsman style house.  It has it's own bathroom and sweet closet tucked under the stairs.


More unbelievable natural light, original trim and doors.


The doors have original door knobs and key holes in them...amazing!


(The closet door)

(The bathroom door)


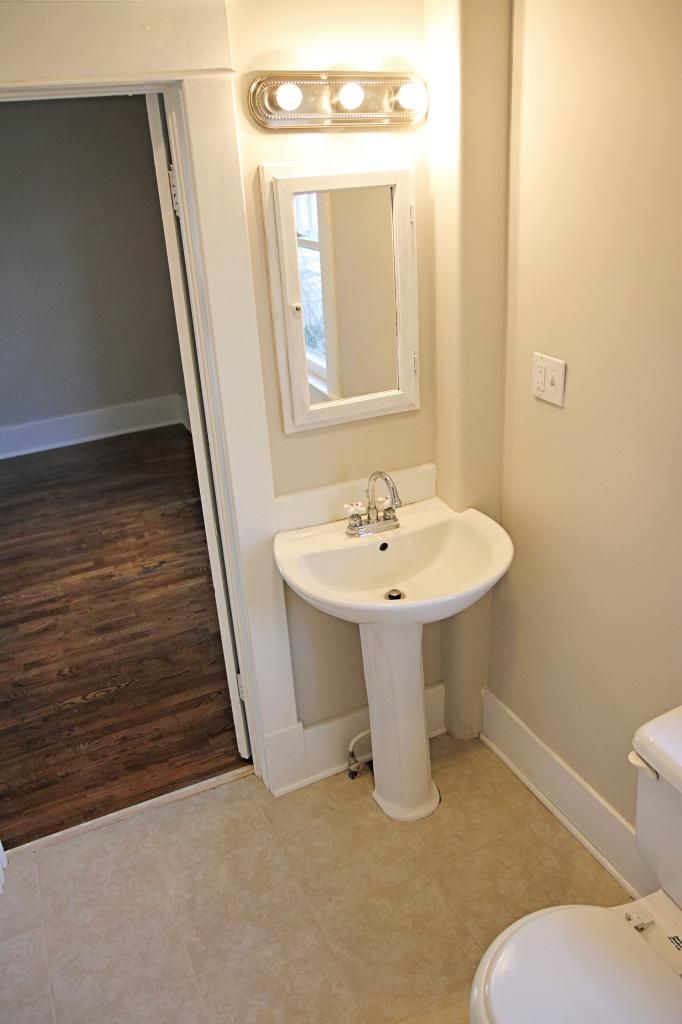
The bathroom will get a SERIOUS cleaning and the glass shower doors will be removed. After a fresh coat of paint on the trim and walls as well as new tile floors, this bathroom will be gorgeous.  Did you notice another amazing original window in there?

Tomorrow's post will give you a peak of the upstairs of The Project House.  Those will be all of the before pictures! Yay!  


Related Posts Plugin for WordPress, Blogger...